[Lesson 3: Learn & Do!]
|
|
|
|
Congratulations! You've got an Edmodo account, you've associated it with LISD's Edmodo site, you've uploaded your own profile image...now, it's time to create your Edmodo groups for each one of your classes. Edmodo groups are very versatile: since students can belong to multiple groups, you can create one large group for each one of your classes, and separate smaller groups to differentiate your instructions and assignments, or simply to have students work in small groups. From a student's perspective, because of how Edmodo groups work, they can have one Edmodo account but be a part of multiple classes / subject areas.
|

|
The process of creating your classes is really quite simple, but there are a couple considerations you'll want to keep in mind. Some teachers want to intially moderate every comment and reply, and while this does ultimately give the teacher more control, it also slows down the communication process drastically. Typically, most teachers realize that even though they have the ability to moderate everything, they don't want to for that very reason, especially since all the posts and comments are viewable by all (no student-student private messaging) and archived in case you need to retrieve one later.
The step by step instructions below include screenshots, just like the previous lessons, and there is a video you'll need to watch as well to fully understand some of these considerations (and to do well on the Lesson 3 Quiz!). Why wait!? Let's create!
The step by step instructions below include screenshots, just like the previous lessons, and there is a video you'll need to watch as well to fully understand some of these considerations (and to do well on the Lesson 3 Quiz!). Why wait!? Let's create!
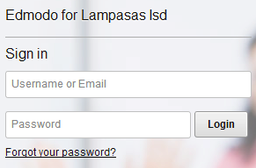
STEP 1: Login to the Lampasas Edmodo site (if you aren't already logged in from Lesson 1!)
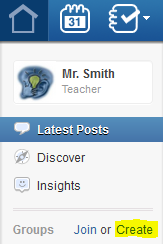
STEP 2: From the left hand-side of your home page, click "Create" next to Groups
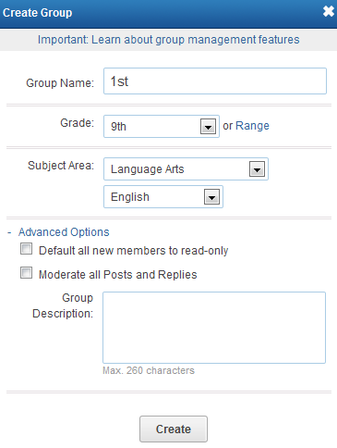
STEP 3: Enter a name for your group, a grade or grade range, subject area...pretty straight forward. Then you need to decide if you want to "Moderate all posts and Replies." Ultimately I would guess you will turn this feature off for reasons listed above, but if you want to turn it on right now you can always change it later in your group settings (see STEP ___). Once you have entered that information click "Create."
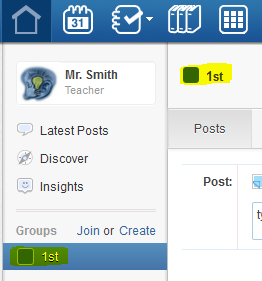
STEP 4: That's it! You've created your first class, and you'll be taken straight into that class, as you'll see indicated in a couple of different areas highlighted below.
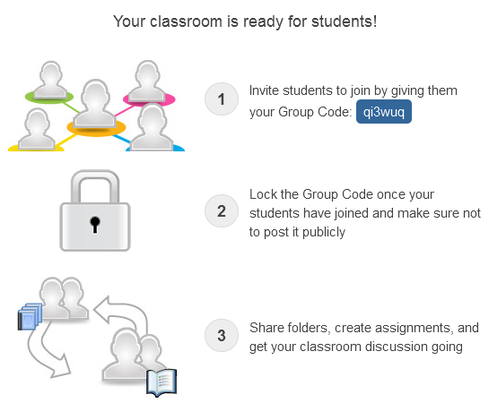
STEP 5: Finding the group code is a breeze. When you first create the group (class), you'll see the group code displayed front and center. Know this has to be entered by students exactly as it is shown - it is case-sensitive. I would also suggest sharing this group code with students in class rather than just posting it online. While you can kick anyone out of the class at any point, this might save some headache. In STEP 6 you'll see where students would be prompted for this code to join the class.
|
|
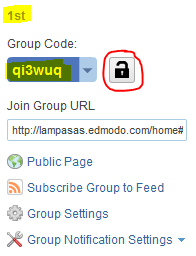
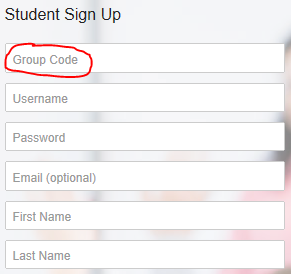
STEP 6: Once you've shared your group code, and the students have created their accounts (clicking "I'm a Student" at the LISD Edmodo home page and entering the Group Code shown below left), you will want to lock down the class in your group settings (indicated/circled in red below right) to prevent others from joining.
|

|
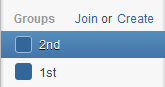
STEP 7: After you've copied down the group code to share with students in your first class, simply click the "Create" button next to "Groups" to exit that class and "Create" a new one....as each new class is created, you'll be able to tell which one you're in by the blue background/shading around the group name. Below, you can see I've just created and selected a group called "2nd."
Watch how easy it is to create groups and classes in Edmodo!
Repeat this process for each class you have. Remember to simply click the "Create" button next to "Groups" to exit your last class and "Create" a new one. Once you've successfully created an Edmodo group for each of your classes, return here to your Edmodo training and go to Lesson 3 Wrap Up.
